You unpack the last box, wipe down the counter, and then you notice the wall behind it. Scratched, yellowed, maybe stained with somebody else’s spaghetti nights. Your lease says don’t touch it. So what now?
The good news is that temporary backsplash ideas have improved a lot, and the best ones look convincing from a few feet away. This guide covers what works, what quietly fails after a month, and how to take it all down without losing your security deposit.
We’ll also talk about heat behind the stove, because that’s where most rental projects go wrong. Grab a tape measure and let’s go.
Temporary Backsplash Ideas That Actually Work in a Rental Kitchen
Here’s the simple version. Temporary backsplash ideas fall into three groups, and knowing which group you’re shopping in keeps you from buying the wrong thing.
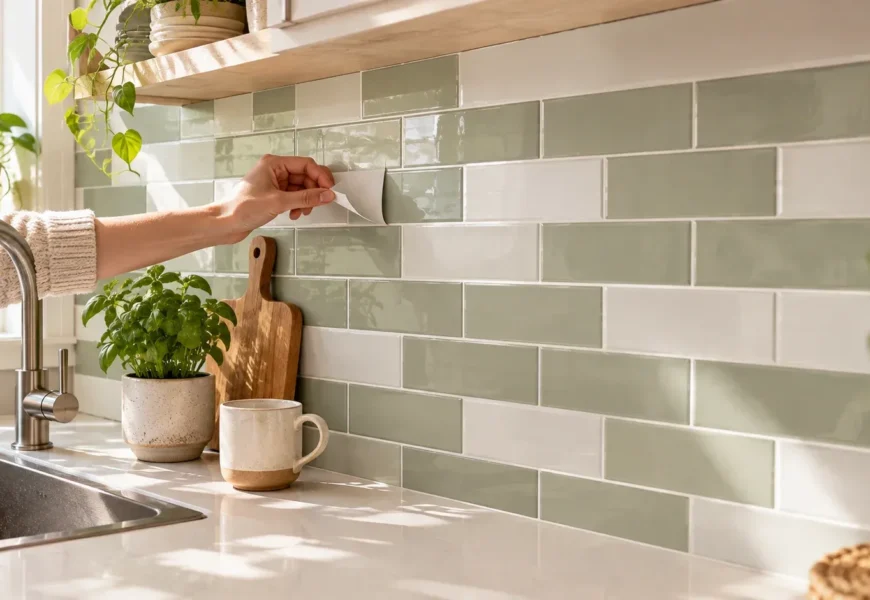
- Stick-on materials: peel and stick tile, contact paper, and peel and stick wallpaper go right onto the wall.
- Board-based panels: you build the look on plywood or poster board, then attach the panel with something gentle.
- Cover-ups: shelves, art, and mirrors that distract from what’s behind them.
Each group trades effort, looks, and risk. Stick-ons are fastest. Panels are easiest on your walls. Cover-ups are the laziest, and honestly sometimes the smartest.
This isn’t a niche problem, either. A 2024 survey from Duck brand found that 60% of renters have used removable décor like shelf liner and wallpaper to bring personal style into their space. (It’s sponsored research, so treat it as a signal, not gospel.)
Before you pick anything, ask yourself three questions:
- Am I allowed to paint or staple?
- Is my wall smooth, or textured?
- Is this wall next to a stove?
Your answers narrow the options fast.
Peel and Stick Tile: Fast, Cheap, and Slightly Risky
Peel and stick tile is where most people start, and it’s easy to see why. Some packs sell for around ten dollars, and you can cover a small wall in an afternoon.
Here’s the catch. Despite the name, this stuff often isn’t removable. One rental-focused blogger points out that adhesive tiles generally aren’t considered a removable product, which matters a lot when your deposit is on the line. Others note that many are easy to apply but poor at staying put, and taking them down can leave sticky residue.
That’s why one of the smartest temporary backsplash ideas is a two-layer setup.
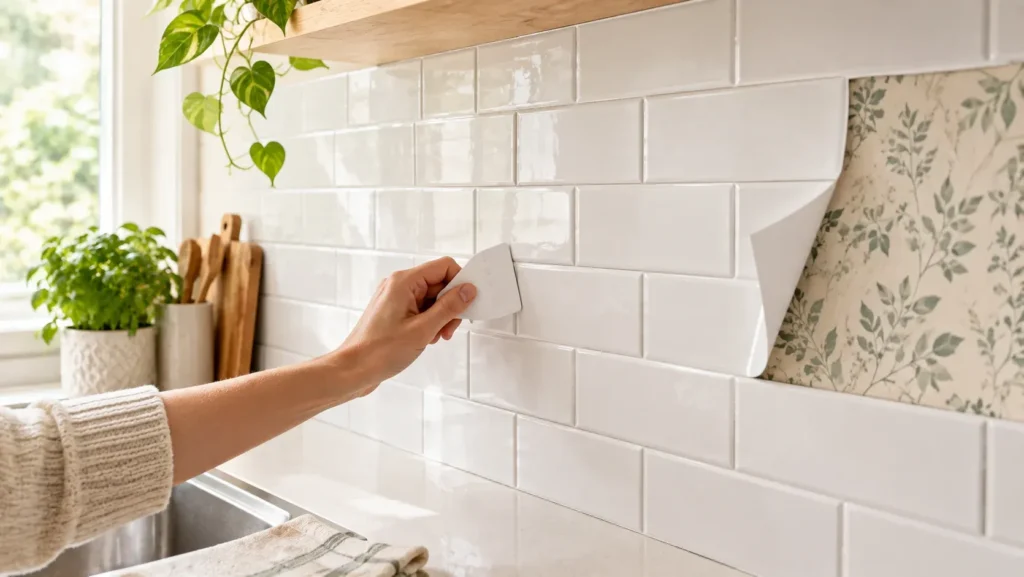
The Two-Layer Trick
Cover the wall with peel and stick wallpaper first, then press your tiles on top. If the tiles fight you on the way out, the wallpaper takes the damage instead of your paint. The blogger who recommends this suggests it for renters and anyone worried about harming the original surface.
Where Peel and Stick Tile Works Best
Behind the sink, along the counter, and in bathrooms. Keep it away from burners unless the product is clearly rated for heat. More on that shortly.
Contact Paper and Peel and Stick Wallpaper: The Budget Route
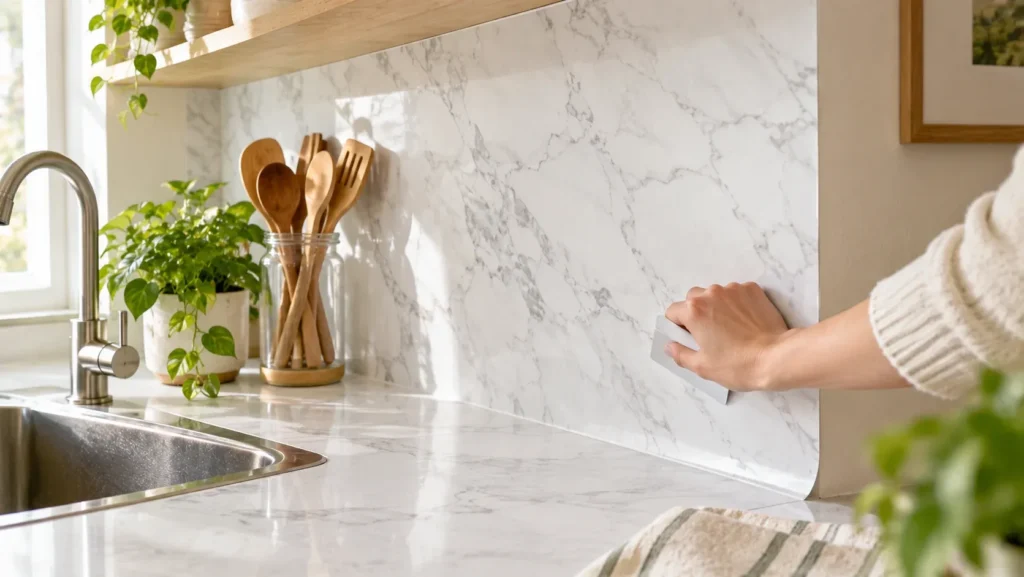
If you want to spend as little as possible, start here. Contact paper and peel and stick wallpaper are the cheapest way to change a wall’s look, and they’re gentler than tile.
One mid-century-style removable backsplash reportedly cost about $30 thanks to peel-and-stick wallpaper, and another blogger made custom faux marble with contact paper. That’s a big look for very little money.
Here’s how to get a clean result:
- Wipe the wall with a damp cloth and let it dry fully.
- Take off outlet covers so the paper tucks underneath.
- Start in the middle and smooth outward with a credit card or squeegee to push out bubbles.
- Work in small sections so you can peel back and fix mistakes.
There’s also a cheaper-than-cheap trick. You can turn a sheet of fabric into temporary wallpaper with liquid starch and a paint roller. It’s messier, but it opens up patterns you can’t buy as wallpaper.
Out of all the temporary backsplash ideas here, this one wins on price. It loses on heat, so keep it far from burners.
Plywood Backer Board Panels: A Tile Look Without Touching the Wall
This is the renter’s secret weapon. Instead of putting anything on your wall, you build the backsplash on a thin board and set the board in place.
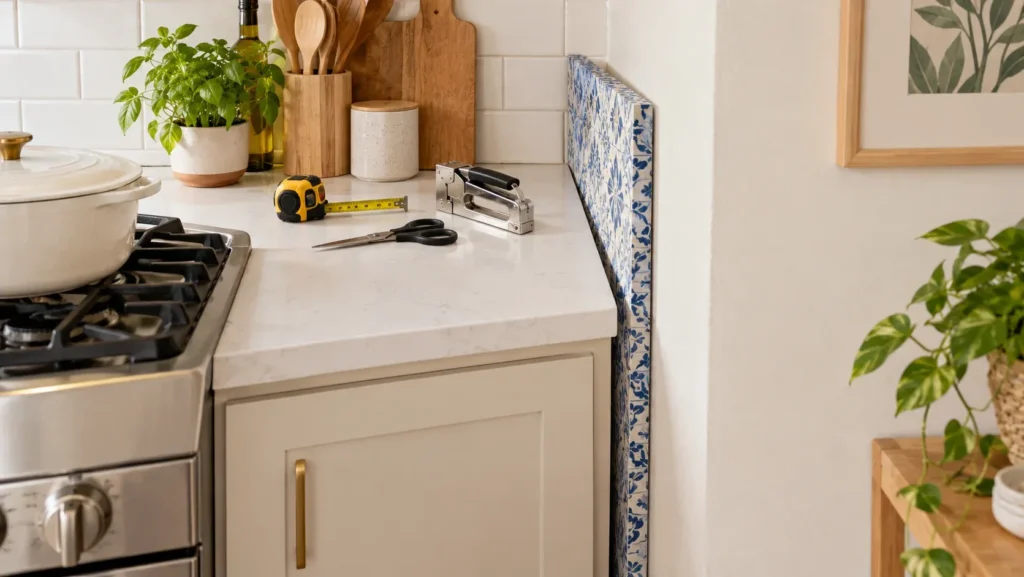
One renter stapled tile-look fabric to a 1/4-inch piece of plywood cut to fit, then slid it into the gap between the wall tile and the range hood fan. No power tools were needed. If you don’t have a gap to wedge it into, corner round molding screwed on either side can hold the panel.
You can also skip the fabric. Painted plywood can give you a wood finish for far less than the real thing. Or glue small tiles onto the board and mount the whole panel with double-sided tape or several Command strips.
One warning: keep the board thin. A Houzz poster noted the material has to be fairly thin so it doesn’t interfere with the outlets. Measure the gap around every outlet before you cut.
Panels are the temporary backsplash ideas I’d pick if your landlord is strict and your wall paint is delicate. Nothing sticks to the wall, so nothing can pull it off.
Poster Board Base With Real Tile
This one looks the most like a real tile job. It went viral for good reason.
The method: cut poster board to fit your backsplash area, staple it to the drywall, then apply ceramic tiles over it. One person reported the tiles were still holding strong a few months later. A finishing edge trim can cover the borders for a more genuine tiled appearance.
Here’s my honest take. It’s a great hack, but staples leave tiny holes. Small, yes, but they’re still holes. Ask your landlord before you try it, and keep the tile choice light so the board isn’t carrying a heavy load.
If your lease is strict, skip this one and go with a panel you can wedge in place instead. Of all the temporary backsplash ideas, it’s the one that needs the most permission.
Behind the Stove: The Heat Rules Nobody Explains
Let’s talk about the part most articles gloss over.
Heat ratings on stick-on products are all over the place. One vinyl tile listing says its tiles are heat resistant only up to about 122°F, or 50°C. Another product claims to withstand 250°C. Those two numbers aren’t even close, so never guess.
What should you do?
- Check the spec sheet. If a product doesn’t list a heat rating, treat it as unrated.
- Leave some clearance. One guide suggests checking heat resistance and leaving roughly 6–8 inches from direct heat sources.
- Avoid open flames. Even products sold for cooktops warn against direct flame.
- Test first. One tip is to test a piece with a hairdryer before committing.
Metal is your safest bet near burners. A material comparison rates aluminum composite and stainless steel as excellent for heat. A thin metal sheet or aluminum-look tile in the stove zone, with a prettier material everywhere else, is one of the most useful temporary backsplash ideas for gas and electric ranges alike.
How to Take It Down Without Losing Your Security Deposit
Getting it off cleanly matters as much as getting it up. Here’s the process.
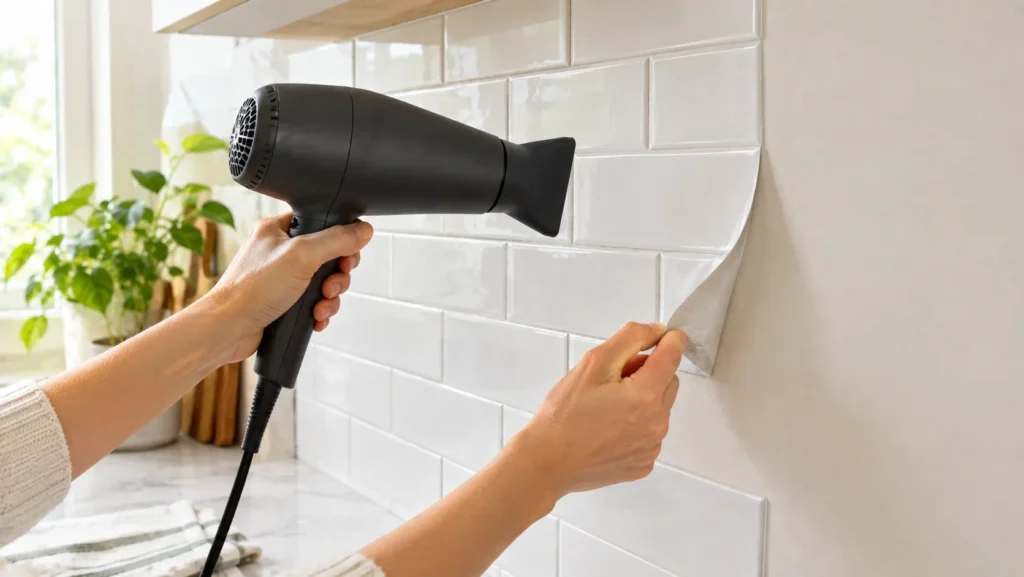
- Warm it first. Use a hairdryer on low to medium heat to soften the adhesive.
- Start at a top corner. One guide recommends beginning there and heating the first tile before pulling.
- Peel slowly and low. Pull the tile back on itself, close to the wall, instead of yanking straight out.
- Handle residue gently. Try warm soapy water first, then a mild adhesive remover on a hidden patch before you use it on the whole wall.
Timing matters too. Stick-ons work best on clean, smooth, fully cured paint, not fresh paint. If the wall was painted in the last few weeks, wait before you apply anything.
How long will removal take? One guide says its author took an entire backsplash down in under 45 minutes using the heat method. Plan for an afternoon and you’ll be fine.
Take photos before and after. If a dispute ever comes up, you’ll have proof the wall was in decent shape.
Cover-Ups and Cheat Ideas When You Can’t Stick Anything
Some leases are strict, and some walls are too textured for adhesives. You still have options.
- Shelves: A slim shelf can bring interest to a bare wall while doubling as storage.
- Art: Designers suggest displaying a piece of art or curated items in front of a backsplash you dislike, so it becomes a backdrop instead of a focal point.
- Mirrors: A leaning mirror bounces light around and hides a lot of ugly wall.
Sure, these aren’t backsplashes in the traditional sense. But in a tiny kitchen with no wall space, they may be the best temporary backsplash ideas on this list. You don’t even have to buy anything special. A cutting board or two propped against the wall does half the job.
Which One Should You Pick?
Here’s a quick cheat sheet.
- Tightest budget: contact paper or peel and stick wallpaper.
- Best look for the money: peel and stick tile over a wallpaper layer.
- Safest for walls: a plywood panel wedged or taped in place.
- Most realistic: poster board with real tile, if your landlord agrees.
- Behind the stove: metal or heat-rated material only.
- Strictest lease: shelves, art, and mirrors.
If you’re still stuck, remember that the best of these temporary backsplash ideas is the one you’ll actually finish. A simple wallpaper backsplash that’s done beats a tile masterpiece that’s half installed.
FAQs: Temporary Backsplash Ideas
1. How long does a temporary backsplash last?
Quality peel and stick products can last years, and many renters keep them up for their whole lease. Cheap vinyl near heat or steam may peel sooner. Panels and poster board setups can last as long as the tape or staples hold, often many months.
2. Can I use temporary backsplash ideas over textured walls?
Adhesives don’t grip textured walls well. Panels are a better choice for those temporary backsplash ideas, since you attach them at the edges or wedge them in place instead of pressing them onto the wall. A thin board bridges the bumps and gives you a smooth surface.
3. Will peel and stick tile damage my walls?
It can. Applied to fresh paint or removed with force, it may pull paint off. Use cured paint, low heat from a hairdryer, and slow peeling. For extra protection, put peel and stick wallpaper down first and tile over that.
4. Is peel and stick backsplash safe behind a stove?
Only if it’s rated for the heat. Check the product’s specs, leave clearance from burners, and avoid open flames. Metal or aluminum-based tiles are the safest choice for the stove zone.
5. What’s the cheapest way to fake a backsplash?
Contact paper or peel and stick wallpaper. Some renters have done it for around $30, and shelf liner is another low-cost option. Wipe the wall clean first, smooth as you go, and keep it away from burners.
Conclusion
Renting doesn’t mean living with a wall you hate. You’ve got options for almost every budget and every lease, from a $30 wallpaper fix to a panel that leaves no trace.
Start by measuring the wall and checking how close it sits to your burners. Then pick one method from the list and buy a small sample first. Stick it on a hidden corner and see how it looks and how it peels off.
That tiny test saves you from most rental backsplash regrets. Once you find the winner, the whole job takes a weekend. And if you’re still looking for more temporary backsplash ideas, save this page and come back when you’re ready to try a second one.
Check your lease, grab your tape measure, and get started this weekend.