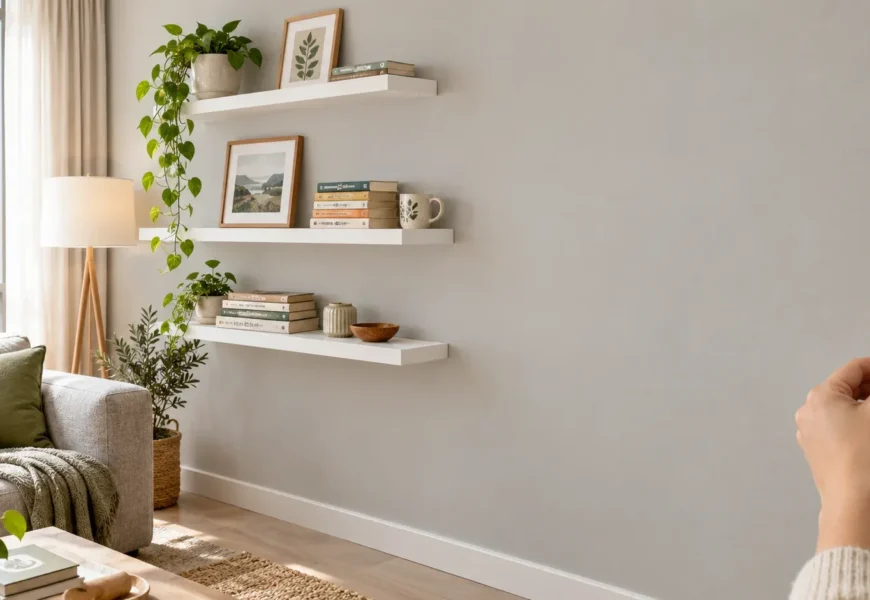
You finally found the perfect spot for a little plant shelf. Then you remembered your lease. Drilling means holes, holes mean patching, and patching means an awkward chat with your landlord. So you search for no drill shelves and get buried in listings promising a “heavy-duty 30 lb hold.” Can that be true? Usually, no.
Here’s what we’ll cover: how these shelves actually stay up, what they can carry, how to prep your wall, and how to take them down without peeling your paint. By the end, you’ll know which type fits your room and your stuff.
Do No Drill Shelves Actually Hold Weight?
Short answer: yes, but far less than drilled shelves, and less than the box suggests. Most no drill shelves are built for light loads like small plants, framed photos, candles, and skincare. Think decor, not a stack of hardcovers.
Here’s a number worth remembering. The Command Picture Ledge, a well-known adhesive shelf from 3M, is rated for five pounds. Another guide says most adhesive-based options max out near five pounds, and a few sturdier products stretch to 10 or 15. Compare that to a single bracket screwed into a stud, which one comparison guide says can carry 30 to 50 pounds. That’s a huge gap.
What this means is simple: treat the weight rating as a ceiling, not a target. A shelf rated for 10 pounds is happiest holding five.
Watch out for big claims, too. Some listings advertise 30 pounds, but a closer look shows the shelf includes small nails alongside the adhesive. That’s not truly nail-free, so read the fine print before you buy.
If you rent, you’re in good company. Harvard’s Joint Center for Housing Studies reports that renters make up over a third of US households. That’s a lot of people working around lease rules, and it’s why this whole category exists.
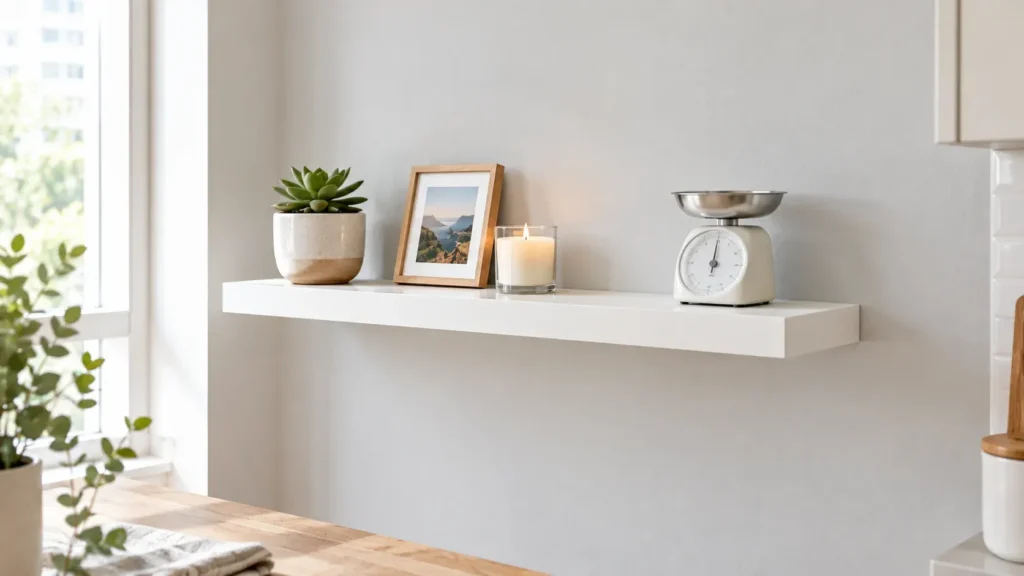
Three Ways No-Drill Shelves Stay on the Wall
Not all of them work the same way, and that matters more than the brand name on the box.
Adhesive Strips and Pads
This is the most common type. Removable adhesive strips or pads bond the shelf to the wall, and it works best on smooth, hard surfaces. Painted drywall, tile, glass, and finished wood are the sweet spots. Most no drill shelves sold online fall into this camp, which is why the weight limits are so low. The wall surface does all the work, so a bad wall means a bad hold.
Tension Systems
Tension rods press outward between two solid surfaces, like the sides of a closet or a narrow alcove, and a board or tray sits on top. One guide puts tension rod shelves at roughly 5 to 12 pounds. They need no adhesive at all, so paint stays safe. The catch is that you need two opposing surfaces close together.
Leaning and Freestanding Shelves
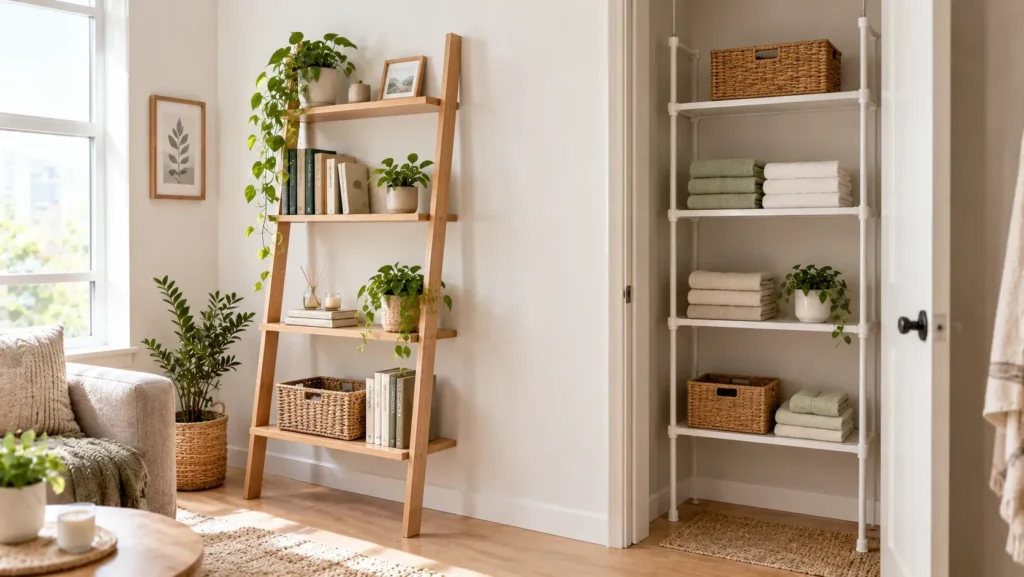
A leaning shelf rests its weight on the floor and touches the wall only lightly at the top. Because the floor carries the load, these handle more. One guide lists leaning ladder shelves at around 10 to 20 pounds total, and freestanding units are limited only by their own build. You can also find clamp-on shelves that grip a table edge or a bed frame. Nothing touches your wall.
Adhesive Shelves and Command Strips: What They Can Really Carry
Let’s talk about the brand everyone knows. Command strips use a stretch-release adhesive that lets go cleanly when you pull the tab correctly. The strips come in sizes, and the size determines the limit. The large picture hanging strips, for example, are rated for 15 pounds with a maximum frame size of 24 by 36 inches. Smaller strips and hooks hold much less, so match the size to the job.
Here’s the part most product pages skip. Those ratings come from perfect conditions: clean, smooth, fully cured paint, tested in lab-style settings. Your rental wall might have texture, old paint, or a bit of kitchen grease. Real-world capacity will be lower.
Acrylic floating shelves are a good example. They look great and they’re cheap, but one review puts their safe adhesive-mounted range at just 2 to 8 pounds. They’re display surfaces for a candle or a tiny succulent. Don’t ask them to be a spice rack.
Direction of force matters too. One reviewer warns that grabbing an adhesive shelf to steady yourself, or resting a hand on it, creates sideways force that can rip the strips off the wall. Strips are great at holding weight straight down. Pulling outward is their weakness.
Cost is worth a quick mention too. Adhesive ledges are cheap, often under twenty dollars, and that’s part of the appeal. But a shelf that drops your favorite mug costs more than the shelf. Paying a little extra for a well-known brand with clear weight ratings is usually smart.
A simple rule works well here. Load your shelf to half its rating. If it says 10 pounds, keep it under five. That buffer covers uneven walls, humidity, and the day you bump it with a vacuum.
How to Prep Your Wall Before You Stick Anything
Most shelves that fall didn’t fail because of bad products. They failed because of bad prep, and even the best no drill shelves need a clean, ready wall. Skipping this step is one of the most common mistakes renters make. Here’s a routine that takes about fifteen minutes.
- Check the paint. Command says to wait 7 days after painting before use. Fresh paint hasn’t cured, and the strip can pull it off later.
- Check the surface. Avoid wallpaper, heavy texture, and dusty plaster. Flat or matte paint is riskier than semi-gloss, so test a hidden corner first.
- Check the temperature. Command lists an indoor range of 50 to 105 degrees Fahrenheit. Don’t install in a freezing room.
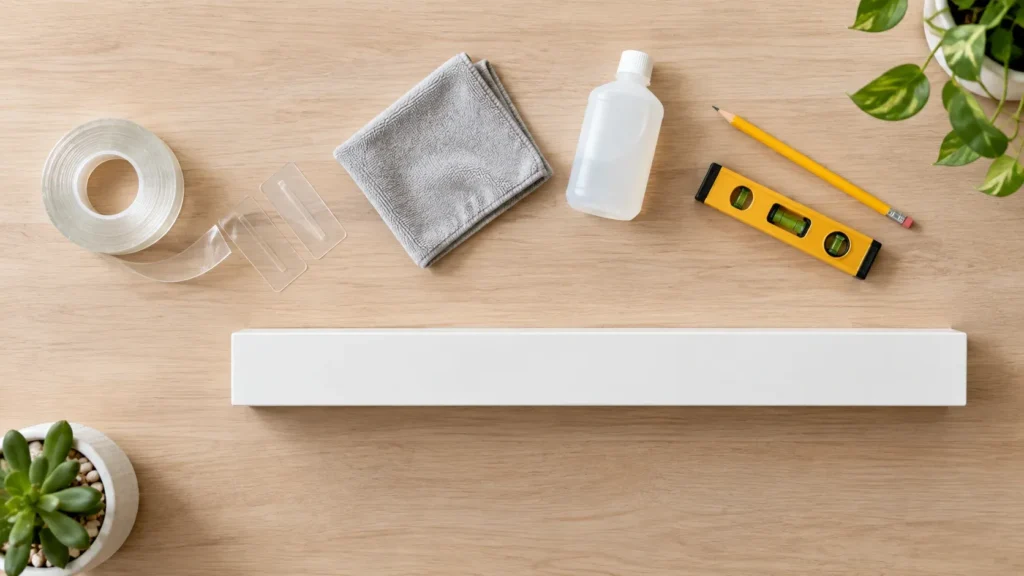
- Clean with rubbing alcohol. Wipe the spot and let it dry fully. Dust and soap film ruin the bond.
- Mark and level. Hold the shelf up, use a small level, and mark light pencil lines.
- Press hard. Press the strips onto the shelf for about 30 seconds, then press the shelf against the wall for another 30.
- Wait before loading. This is where people get impatient.
Why rubbing alcohol and not a regular spray cleaner? Many household cleaners leave a thin oily film behind, and that film is exactly what adhesive struggles to grip. Alcohol dries fast and leaves nothing behind. Use a clean cloth, wipe once, and don’t touch the spot afterward with bare fingers.
How long should you wait? Advice varies from one hour to three days. A reviewer who left adhesive pads for 24 hours before loading a shelf reported it lasted close to four years. Loading too early is a top reason adhesive mounts fail, and it’s the easiest mistake to avoid. Give it a full day.
No Drill Shelves in Bathrooms and on Tile
The bathroom is the toughest test. Steam, temperature swings, and soap film all attack adhesive. So do no drill shelves actually survive there?
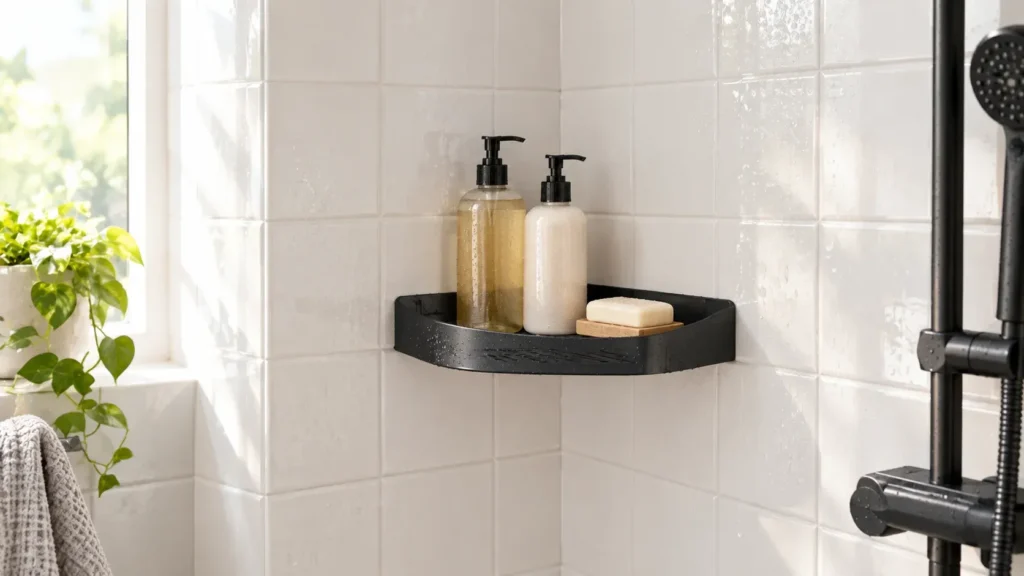
The answer is mixed, and honesty helps here. One guide claims humidity can loosen adhesive within roughly three to six months. Another says most last six to twelve months before failing. Yet real users tell a different story. One MetaFilter poster reported a corner shower shelf installed in 2020 that has stayed put untouched, with every shelf full and in daily use.
What explains the gap? Mostly surface and prep. Adhesive shower shelves work best on smooth, non-porous surfaces like glass, porcelain, and glazed ceramic tile. They struggle on textured or porous tile. Limescale and soap residue cause quick failures too.
Here are a few tips that help:
- Clean the tile thoroughly, including limescale, before you stick anything.
- Keep the spot dry for 24 hours after installing.
- Pick a shelf with drainage so water doesn’t sit against the adhesive.
- Stay well under the rating. One popular shower basket is rated for about 3 kg, a little over 6 pounds. Two big shampoo bottles fill that up fast.
Tension Rods, Leaning Shelves and Clamp-Ons: When Adhesive Isn’t Enough
Sometimes you want to store books, not candles. That’s where adhesive stops making sense, and where no drill shelves of the sticky kind reach their limit. One guide states plainly that adhesive isn’t the right tool above 15 to 20 pounds total. Another goes further, calling tension rods between vertical surfaces the one method that avoids wall damage and still carries meaningful loads.
So match the method to the load:
- Under 5 pounds: adhesive picture ledges and acrylic shelves work fine.
- 5 to 15 pounds: large adhesive strips, tension rod shelves, or a leaning shelf.
- Over 15 pounds: a leaning bookcase, a freestanding unit, or honestly, a screw.
That last one deserves a fair word. In a renter forum thread, several commenters argued that stick-on options can’t hold real weight, and that you can simply patch the holes at move-out. They have a point. A few small anchor holes are easy to patch. But check your lease first. Some landlords charge for any hole, and some don’t allow it at all. If your lease says no, stick with the methods above and you’re covered.
Where No Drill Shelves Work Best Around the Home
Every room has a spot where adhesive or tension shelves shine. Small spaces are where no drill shelves make the most sense, because they add storage without eating up floor area. Here’s where renters tend to get the most out of them.
- Entryway. A slim ledge above the shoe rack holds keys, sunglasses, and a small dish. It’ll get bumped a lot, so use extra strips and keep the load light.
- Bedroom. A narrow ledge beside the desk or bed can hold a lamp, a diffuser, or a few notebooks. Put it next to the bed, never over it.
- Kitchen. A little shelf for spice jars or a coffee station works well, but keep it far from the stove. Heat and cooking grease weaken adhesive faster than you’d expect.
- Living room. Picture ledges are perfect for framed prints you like to swap out. For books, a leaning shelf is the better call.
- Closet or hallway. Tension rod shelves fit here nicely, since the two side walls give the rod something solid to push against.
A good habit is to test any new spot with a cheap, light item for a week before you trust it with something you’d hate to break. If the shelf holds a stack of paper and a plant for seven days without a wobble, you’re in good shape.
6 Mistakes That Make Shelves Fall
Most no drill shelves that fall share the same handful of causes. Avoid these and you’ll be ahead of most buyers.
- Loading too soon. Give the bond time to set, ideally a full day.
- Skipping the cleaning step. A dusty wall means the shelf bonds to dust, not paint.
- Ignoring the weight rating. Always stay under it, and stay well under in humid rooms.
- Mounting on a bad surface. Wallpaper, texture, and freshly painted walls are all trouble.
- Piling everything on one end. Spread the weight evenly across the shelf so no strip carries the whole load.
- Treating it like a handle. Never lean on it, pull on it, or hang a bag from the edge.
There’s one more: hanging shelves over a bed. Command specifically advises against hanging its ledges over beds. If a shelf does let go, you don’t want it landing on someone’s face.
How to Take Them Down Without Losing Your Deposit
Putting a shelf up is only half the job. Taking it down badly is how deposits disappear.
For Command strips, don’t yank the strip straight out. Command’s own instructions say to avoid pulling it straight off. Instead, grab the tab and stretch it slowly straight down along the wall, keeping it parallel to the surface. The adhesive lets go without taking paint with it. Go slowly. Rushing is what rips paint.
For stiffer pads, like those on shower shelves, heat helps. Warm the adhesive with a hairdryer for a minute or so, then slide dental floss or fishing line behind the pad and saw it free. Wipe any leftover residue with a little rubbing alcohol on a cloth.
One more thing: don’t plan to reuse the adhesive. One guide notes that adhesive-backed shelves don’t grip as well after coming off the wall once. Buy fresh strips when you move the shelf to a new spot.
FAQs: No Drill Shelves
Do no drill shelves damage walls?
They can, but rarely if you follow the rules. Problems come from freshly painted walls, matte paint, and pulling strips straight off. Wait a week after painting, clean the spot, and use the stretch-tab removal method. Test a hidden corner first if your paint is flat.
How much weight can adhesive shelves hold?
Most hold between two and ten pounds in real use, even when the box promises more. The Command Picture Ledge is rated for five. Load your shelf to half its rating for a safety margin, and spread items evenly instead of stacking them at one end.
Can I put no drill shelves in a shower?
Yes, on smooth glazed tile, glass, or porcelain. Clean off limescale, let the adhesive cure for 24 hours dry, and choose a shelf with drainage. Expect a shorter lifespan than in a dry room, and keep bottles light.
How long should I wait before putting things on the shelf?
Command lists a short wait for strips, but a full 24 hours is safer. Loading too early is one of the most common reasons adhesive mounts fail. If you painted recently, wait seven days before sticking anything to the wall.
Are tension rod shelves better than adhesive ones?
For heavier loads, often yes. They need no adhesive, so paint is never at risk, and they can carry roughly five to twelve pounds. The trade-off is that you need two solid surfaces close together, like a closet or alcove.
Conclusion
Here’s the honest takeaway. No drill shelves are a smart fit for light decor, bathroom bits, and small plants, as long as you prep the wall and respect the weight rating. For anything heavier, switch to a tension rod, a leaning shelf, or a freestanding unit.
So check your wall this weekend. Find out when it was last painted, wipe the spot with rubbing alcohol, and weigh the things you actually want to display. If the total is under five pounds, an adhesive ledge will do fine. If it’s more, pick a different style now, before something ends up on the floor.