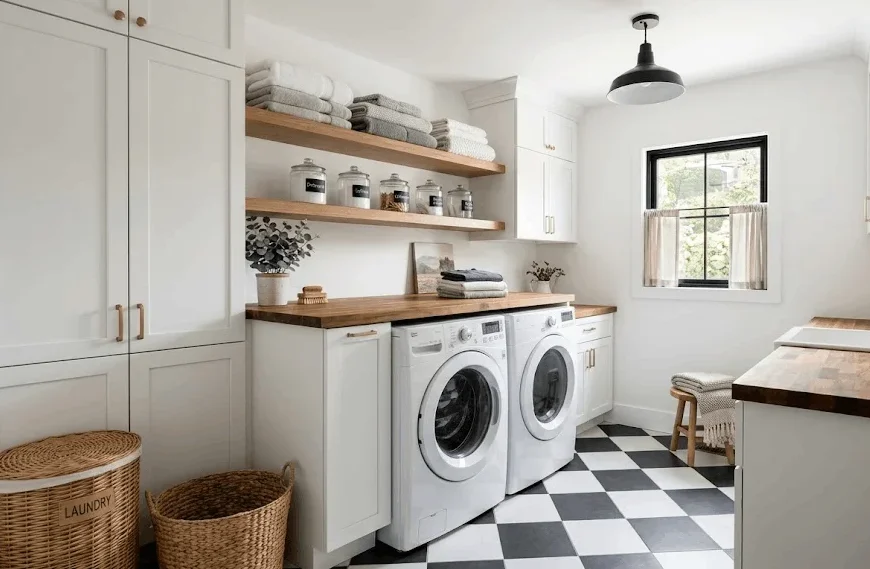
If you’ve ever stood in your laundry room holding a basket of clothes with nowhere to fold them, you already know why a laundry room makeover ends up on everyone’s to-do list. It’s usually the smallest, most neglected room in the house — and somehow also the one you use almost every day. Here’s the good news: you don’t need a five-figure renovation to make it work better and look better. By the end of this, you’ll know exactly where to spend your money, where to save it, and what a realistic laundry room makeover actually costs in 2026.
What a Laundry Room Makeover Really Costs
Before you start pinning inspiration photos, let’s talk numbers, because this is where most people get stuck. A full laundry room makeover typically runs somewhere between $6,000 and $17,000, with the average landing around $11,000. That number covers things like appliance installation, labor, permits, and finishes — the full package.
But here’s what a lot of blogs won’t tell you: that’s the high end of what’s possible, not the only option. A simple cosmetic refresh — new paint, some open shelving, maybe a butcher block countertop over your machines — can cost as little as $1,800. What this means is that your laundry room makeover doesn’t have to be all or nothing. You can start small, live with it, and build from there.
For example, if plumbing and electrical are already in place and you’re just changing the look of the room, you’re closer to that lower number. If you’re moving a sink, relocating outlets, or expanding the footprint, costs climb fast. So the first real question isn’t “what’s trendy right now” — it’s “what am I actually changing?”
This is exactly why two people can describe the same laundry room makeover and end up with completely different price tags. One homeowner is swapping paint and adding shelves. Another is tearing into walls to move a drain line three feet to the left. Both call it a makeover, but only one of them needs a contractor on speed dial.
A good way to sort this out before you spend a dime: walk through your space and separate “cosmetic” changes from “structural” ones. Paint, shelving, hardware, and even a countertop over your machines fall into the cosmetic bucket — low cost, low risk, high visual payoff. Anything touching plumbing, electrical, or the room’s actual footprint falls into the structural bucket, and that’s where permits, inspections, and licensed pros usually become non-negotiable.
Most successful laundry room makeover projects actually start by fixing the cosmetic layer first, then only tackling structural changes if the room still doesn’t function well after that. It’s a cheaper way to find out whether you even need the bigger, pricier fix.
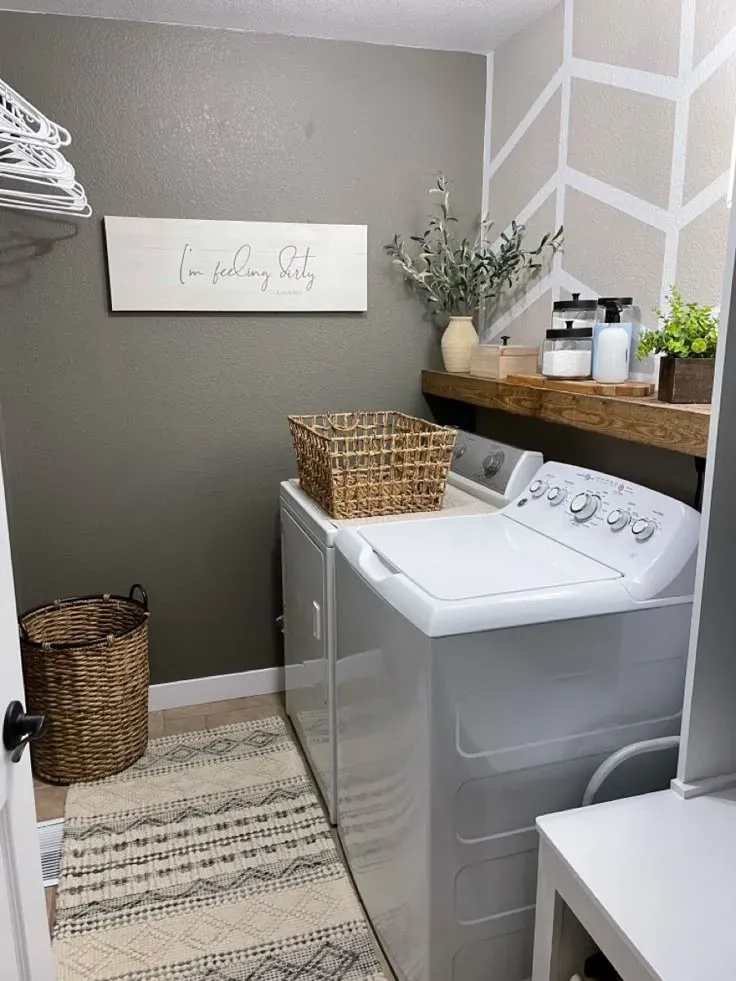
Small Laundry Room Design That Doesn’t Feel Cramped
Here’s why small laundry room design trips people up: most laundry rooms are closets or narrow galley spaces to begin with, so every inch matters. The trick isn’t to fight the size — it’s to design around it.
Go Vertical First
If your room is 5×8 feet or smaller (a surprisingly common size), stop thinking about floor space and start thinking about wall space. Stacking your washer and dryer instead of placing them side by side can free up several feet of floor area instantly. That freed-up space is usually enough for a rolling cart, a tall cabinet, or even a small folding station.
Once the machines are stacked, look up — the wall space above them is often the most underused spot in the entire room. A tall cabinet or a few floating shelves right there can hold months’ worth of detergent and supplies without ever touching your new floor space.
One-Wall Layouts Work Harder Than You Think
A one-wall laundry setup — machines against a single wall with open shelving above — is one of the most repeated ideas in real laundry room makeovers, and for good reason. It keeps supplies visible and within reach without eating into walking space. Add a narrow rolling unit beside the machines for extra storage that tucks away when you need the floor clear.
This layout also makes the room easier to clean, since you’re not maneuvering around machines placed in the middle of the floor. And if you ever need to service the washer or dryer, having everything against one wall means a repair tech isn’t squeezing past furniture to reach the back panel.
Use the Backs of Doors
It sounds almost too simple, but door-back storage is one of those small laundry room design tricks that people forget until they see it in someone else’s house. Hooks, slim organizers, even a mounted ironing board — the back of your laundry room door is free real estate.
It’s also one of the cheapest additions in any laundry room makeover — most door-mounted organizers cost under $30 and take ten minutes to install, no tools beyond a screwdriver required. If your door swings inward and takes up floor space when open, a slim over-the-door rack is often the only storage option that doesn’t get in the way.
Laundry Room Storage Solutions Worth the Investment
A laundry room makeover lives or dies on storage. You can have the prettiest paint color in the world, but if there’s nowhere to put detergent, dryer sheets, and the mismatched sock collection, the room will feel chaotic within a week.
Here’s what actually works, based on how real homeowners have tackled this:
- Wire shelving units — especially useful above stacked machines, since they’re lightweight and don’t block ventilation.
- Wall-mounted hanging racks that fold flat when you’re not using them.
- Labeled containers for detergent, stain remover, and dryer balls, with frequently used items on lower shelves.
- Laundry pedestals with built-in drawers underneath front-loading machines.
- Wheeled tall units that slide into narrow gaps and roll out when needed.
The pattern here is that good laundry room storage solutions almost always combine visible open storage (for things you grab daily) with closed storage (for things you don’t want on display). A mix of both keeps the room functional without looking cluttered.
Think of it like a kitchen pantry: you don’t want every box and bottle on display, but you also don’t want to dig through a closed cabinet every time you need dryer sheets. The same logic applies here — daily-use items like detergent and stain remover belong on open shelves at eye level, while bulk supplies, cleaning chemicals, and seasonal items are better off behind a cabinet door.
This balance also makes the room easier to keep tidy long-term, since there’s a clear “home” for everything instead of items piling up on whatever surface is closest. Once that system is in place, most people find laundry day genuinely faster, simply because they’re not hunting for things mid-load.
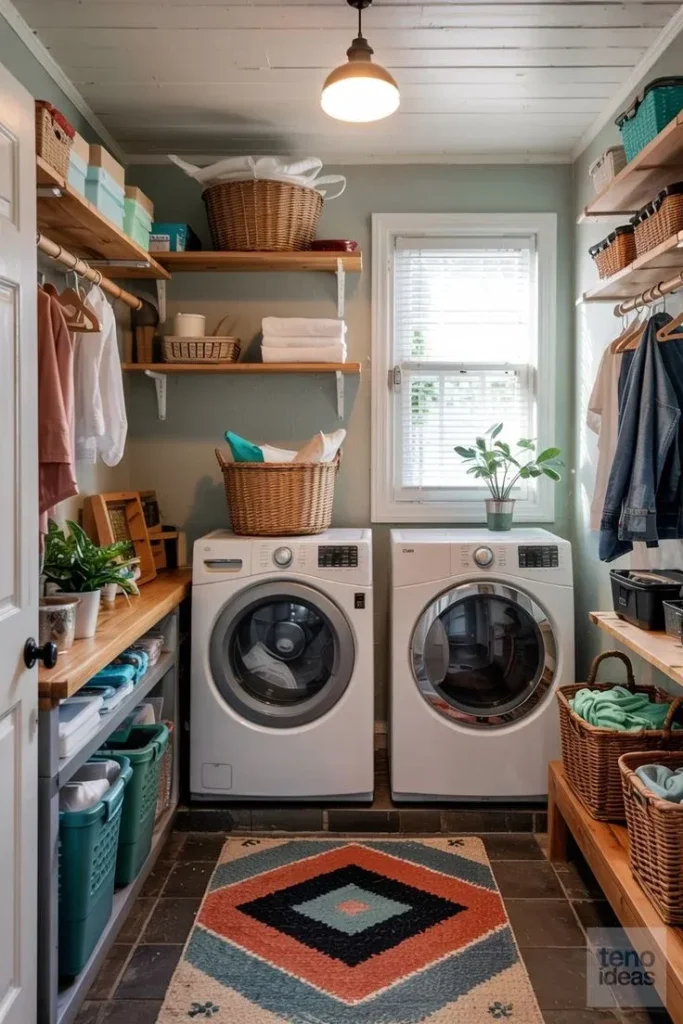
Laundry Room Cabinets and Shelving: What to Splurge On
If you’re going to spend money anywhere in your laundry room makeover, cabinets are usually where it counts. Installing cabinets typically runs $100 to $300 per linear foot, with custom builds on the higher end. That’s not cheap, but cabinets do double duty — they hide clutter and they visually finish the room.
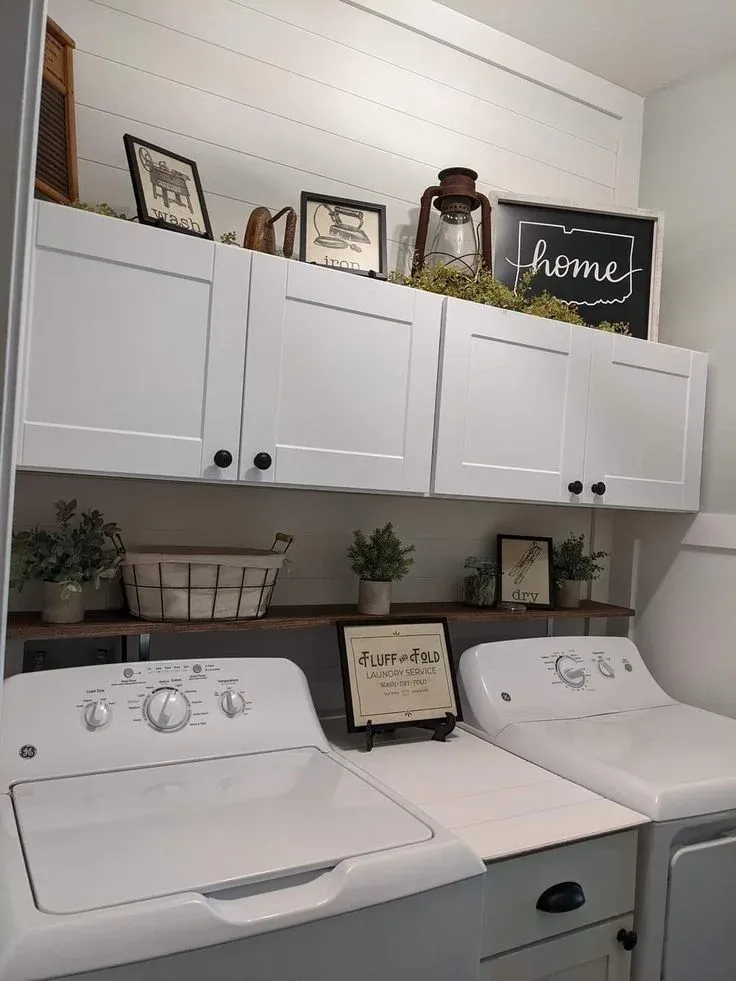
A cheaper alternative that shows up again and again in real makeovers: floating shelves paired with a butcher block countertop installed directly over the washer and dryer. This gives you a flat folding surface without the cost of full cabinetry, and it’s a project most people can DIY in a weekend.
If you do go with cabinets, extending them all the way to the ceiling makes a small room feel taller and gives you extra storage for items you use rarely — think seasonal decor or extra cleaning supplies.
It’s a small design choice, but it’s one of the details that separates a basic update from a genuinely finished-looking laundry room makeover. Stopping cabinets short of the ceiling leaves an awkward gap that tends to collect dust and clutter, while going all the way up eliminates that dead zone entirely.
If reaching the top shelf is a concern, a small step stool tucked in the corner solves the problem without sacrificing the extra storage. And since those top cabinets are for rarely-used items anyway, the occasional climb is a fair trade for the amount of space you gain.
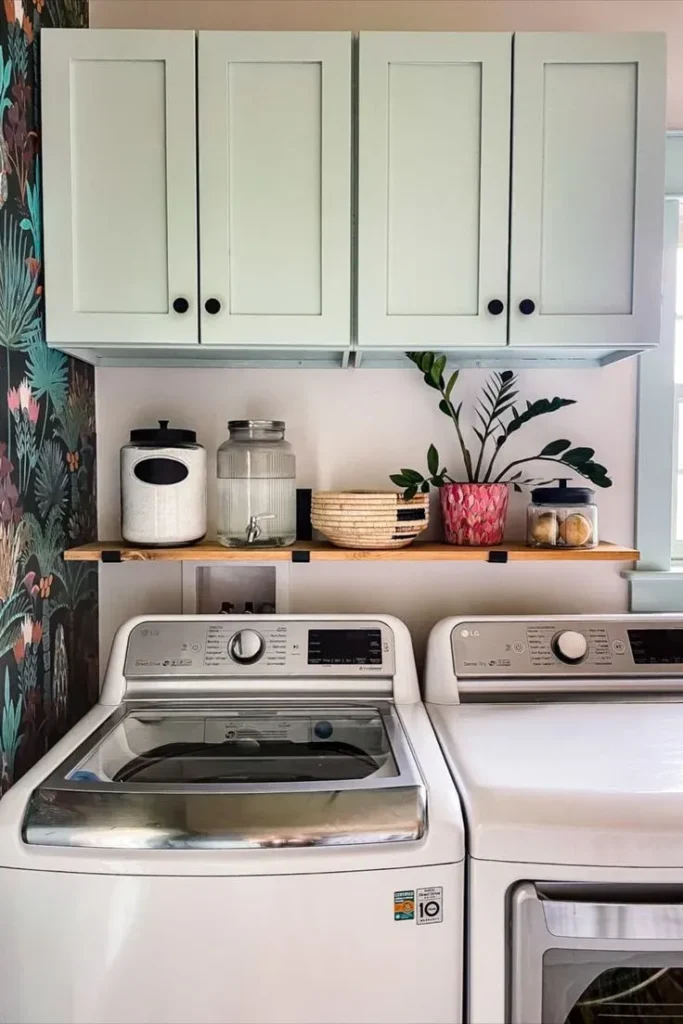
Laundry Room Color Schemes That Make Small Spaces Feel Bigger
Paint is the cheapest, highest-impact change you can make, which is probably why nearly every laundry room makeover story starts here. But there’s some disagreement on the “right” approach.
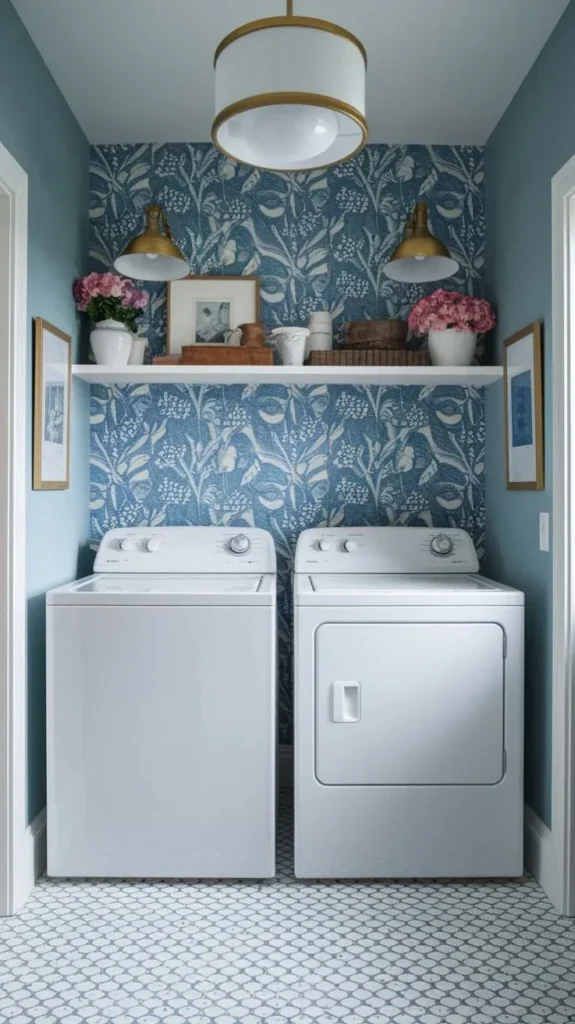
The conventional wisdom says light, neutral colors make small rooms feel bigger — whites, soft grays, pale blues. And that’s true, generally. But some homeowners have gone the opposite direction on purpose: painting a narrow, awkward laundry room in a darker, moodier tone to create an accent-wall effect that draws focus toward the center of the room instead of highlighting how tight the space is.
Both approaches work. What matters more is consistency — painting the cabinets and walls in the same or similar tones can make a small laundry room look more spacious, because you remove the visual “breaks” that make a room feel chopped up.
Farmhouse Laundry Room Decor and Other Styles Worth Considering
Not every laundry room makeover needs to chase a specific trend, but if you want direction, farmhouse laundry room decor remains one of the most requested looks — think shaker cabinets, white subway tile, brass fixtures, and woven baskets for texture. It photographs well and tends to age gracefully, which matters if you’re not planning to redo this room again anytime soon.
That said, plenty of homeowners are mixing styles instead of picking one lane. Olive green or sage cabinetry paired with black-and-white checkerboard flooring has been showing up a lot lately, blending a modern-traditional feel with the coziness farmhouse style is known for. If neutral doesn’t excite you, a laundry room is actually a low-risk place to experiment with color, since it’s not a room guests spend much time in.
Laundry Room Flooring Options for a Hardworking Space
Your laundry room takes more abuse than almost any other room in the house — detergent spills, vibration from the machines, the occasional overflow. So flooring choice matters more here than it might in, say, a living room.
The two most common laundry room flooring options are:
- Luxury vinyl plank (LVP) — water-resistant, softer underfoot, and budget-friendly (roughly $300–$900 for the room).
- Ceramic or porcelain tile — more durable long-term, especially under heavy machines, but colder underfoot and slightly pricier to install.
If your existing subfloor shows any water damage or the laundry room sits above a living space, budget extra for subfloor repair before you even think about the finish flooring. It’s not exciting, but skipping it is how small problems turn into expensive ones.
Laundry Room Remodel on a Budget: A Realistic Game Plan
If you’re doing a laundry room remodel on a budget, order of operations matters. Here’s a sequence that tends to give the best visual return per dollar spent:
1. Declutter and Clean First
This costs nothing and it’s the step people skip. Take everything out, wipe down surfaces, and get a real look at the empty room before deciding what it needs.
2. Paint
The single highest-impact, lowest-cost change. Budget a weekend and one to two cans of paint.
3. Lighting
Swapping a builder-grade fixture for something with more character is an easy DIY project, often completed in under an hour, and it changes the whole feel of the room.
4. Shelving or Cabinets
Add based on what your budget allows — floating shelves if you’re tight on cash, full cabinetry if you have room to spend.
5. Countertop
A simple butcher block or DIY concrete countertop over the machines adds function (a folding surface) for relatively little cost.
6. Hardware and Finishing Touches
New cabinet pulls, a stylish light switch cover, a rug — small details that make the room feel finished rather than half-done.
Following this order means if your budget runs out at step 4, you’ve still made a real, visible difference in the room. That’s the whole point of a laundry room remodel on a budget — progress that doesn’t require finishing everything at once.
Before and After Laundry Room Transformation: What to Expect
Real before and after laundry room transformation stories tend to share a common thread: the biggest jump in “wow factor” usually comes from the combination of paint plus storage, not from any single big-ticket item. A homeowner working with just 25 square feet of space was able to completely change the feel of the room through paint, cabinetry, and smart use of vertical space — without a full renovation.
That’s worth remembering if you’re comparing your plans to glossy magazine photos. You don’t need a $17,000 remodel to get a dramatic before-and-after. You need the right combination of a few key changes, applied thoughtfully to your specific space.
At the end of the day, the most convincing laundry room makeover results rarely come from spending the most money — they come from matching the changes to what the room actually needs.
FAQs: Laundry Room Makeover
How much does a laundry room makeover cost?
Costs vary widely based on scope. A cosmetic refresh with paint and shelving can run $1,800–$3,000, while a full remodel with new cabinets, flooring, and plumbing changes averages $11,000, with a range of $6,000–$17,000.
What color should I paint a small laundry room?
Light, neutral tones like white or soft gray tend to make small rooms feel bigger. That said, darker accent colors can work well too, especially if you want to draw focus toward the center of the room rather than the walls.
Is a laundry room remodel worth the investment?
Laundry room remodels typically see a 40–60% return on investment, and a dedicated laundry space is one of the top features buyers look for in a home. Even a partial update can add real value.
What’s the best flooring for a laundry room?
Luxury vinyl plank and ceramic tile are the two most common choices. Vinyl is cheaper and more forgiving underfoot; tile holds up better long-term under the weight and vibration of machines.
How do I add storage to a small laundry room?
Focus on vertical space: wire shelving above stacked machines, wall-mounted racks that fold away, and door-back organizers. Combine open storage for daily items with closed storage for everything else.
Conclusion
A laundry room makeover doesn’t have to mean tearing out plumbing or spending five figures. It can be as simple as paint, better storage, and a few finishing touches — or as involved as a full remodel with new flooring, cabinets, and a sink. The right approach depends on your budget, how much you use the space, and how long you plan to stay in your home.
Start with the cheap, high-impact stuff: declutter, paint, and lighting. See how the room feels. Then decide if cabinets, new flooring, or a countertop are worth adding. A laundry room makeover is one of those projects where small, sequential changes add up to something that looks — and functions — completely different from where you started.
This weekend, take everything out of your laundry room and really look at the empty space. You might be surprised how much you can change with just paint and a plan.