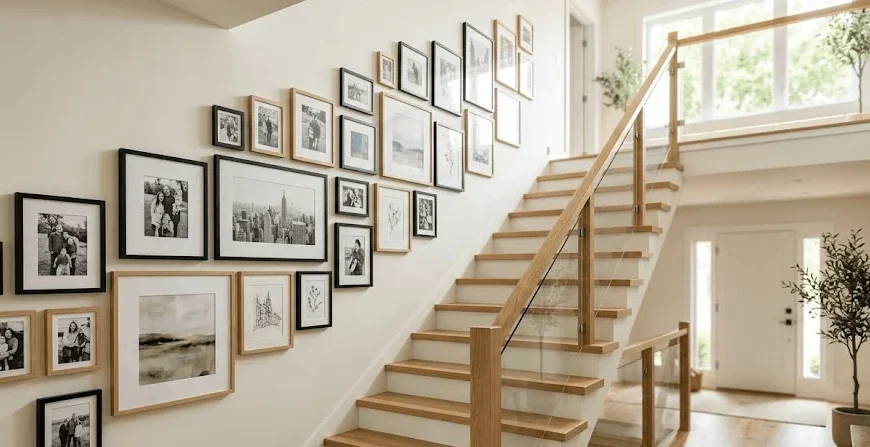
If you’ve ever stood at the bottom of your stairs holding a stack of frames, staring at that long blank wall, and thinking “where do I even start” — you’re not alone. A staircase gallery wall is one of the most requested home projects out there, and also one of the most intimidating, because the wall itself isn’t flat and predictable. It climbs at an angle, it has landings, it has a handrail cutting through your sightline. By the end of this guide, you’ll know exactly how to plan the layout, space your frames, and hang everything so it looks like you knew what you were doing the whole time.
Why a Staircase Gallery Wall Is Trickier Than a Regular One
A staircase gallery wall isn’t just a normal gallery wall turned sideways. On a flat living room wall, you can eyeball a grid and it’ll look fine. On stairs, gravity and geometry are working against you. Your eye naturally follows the line of the handrail, so if your frames don’t follow that same line, the whole thing reads as crooked even when every frame is technically level. That’s the single biggest thing that trips people up, and it’s also the easiest thing to fix once you understand it.
Think of the handrail as your invisible ruler. Once you start treating it as the guide instead of fighting against it, every other decision — spacing, frame size, where to anchor your focal piece — gets a lot easier. That’s really the whole secret behind a staircase gallery wall that looks like it was planned by a pro instead of thrown together in an afternoon.
Planning Your Staircase Wall Decor Ideas Before You Touch a Frame
Before you buy a single frame, spend ten minutes with a tape measure. This step is the difference between a staircase gallery wall that looks custom-built and one that looks like you just started hammering nails.
Measure the Rise and Run
Walk up your stairs and measure the rise (the height of one step) and the run (the depth of one step). This ratio is basically the “slope” your gallery wall needs to follow. You can tape a long strip of painter’s tape along the wall at this angle as a rough centerline guide — it mimics the line of your handrail and gives you a visual reference before anything goes on the wall.
Stand back and look at that tape line from the bottom of the stairs before you commit to anything. If it looks off from a distance, it’ll look off once frames are hanging on it too, so this is the cheapest moment to make adjustments. Once the angle feels right, leave the tape up for a day or two and walk past it a few times — you’ll notice things at different times of day that you missed on the first look. Small shifts now save you a dozen unnecessary nail holes later.
Choose Your Layout Style
Most successful layouts fall into one of four camps:
- Diagonal cascade — frames step up one after another, following the stair angle closely.
- Staggered grid — a looser, more organic version of the cascade with varied gaps.
- Salon-style mix — an eclectic cluster of different frame sizes and shapes, less rigid.
- Landing focal point — one larger statement piece on the landing, with smaller frames trailing up or down the stairs.
There’s no single “correct” one. A salon-style mix hides imperfect spacing better, while a diagonal cascade looks cleaner but demands more precision.
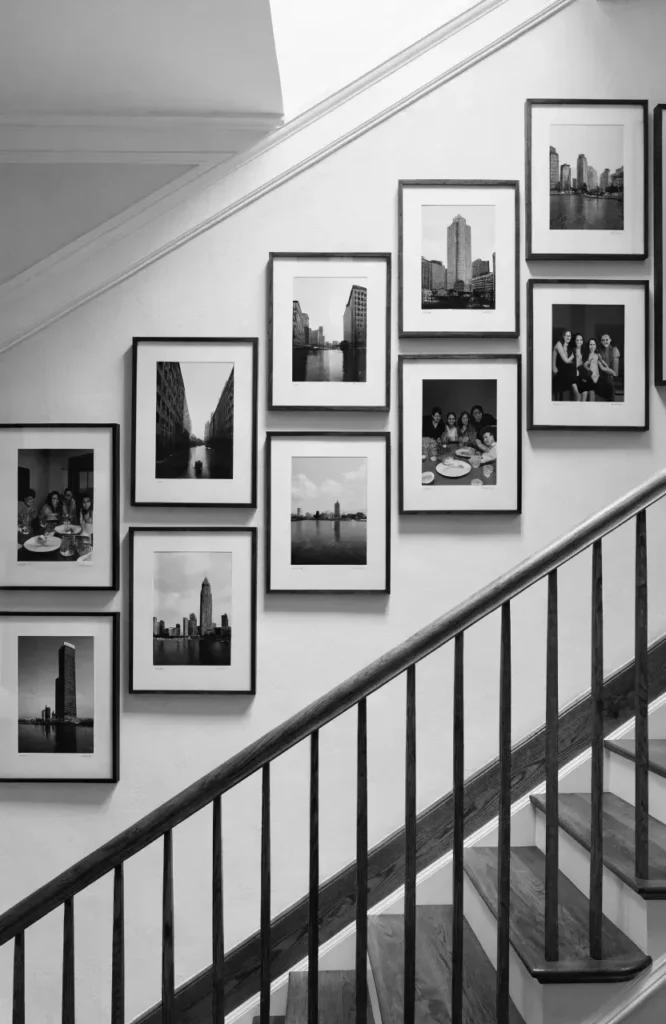
Stairway Photo Wall Layout Rules That Actually Work
Once you’ve picked a style, the numbers matter more than people expect. A staircase gallery wall lives or dies on consistent spacing, because your eye is scanning it while walking, not standing still.
Spacing Between Frames
Keep roughly 2 to 3 inches between frames. Tighter than that and it looks cluttered; wider and it looks disconnected, like separate mini-displays instead of one wall. Use a scrap piece of cardboard cut to that width as a spacer while you’re marking positions — it’s faster and more accurate than eyeballing every gap.
Eye-Level Anchoring on Landings
Wherever the stairs flatten out into a landing, anchor your focal frame around 57 to 60 inches from the floor, which is standard eye level. From that anchor point, let the rest of the frames continue the diagonal rhythm up or down the stairs. This gives your staircase gallery wall a clear resting point for the eye instead of one continuous, exhausting diagonal line.
Leave Breathing Room at the Bottom
If your stairs open into an entryway or hallway, keep the lowest row high enough that shoes, bags, and hands passing by won’t bump into frames. It’s a small detail, but it’s the difference between decor and an obstacle.
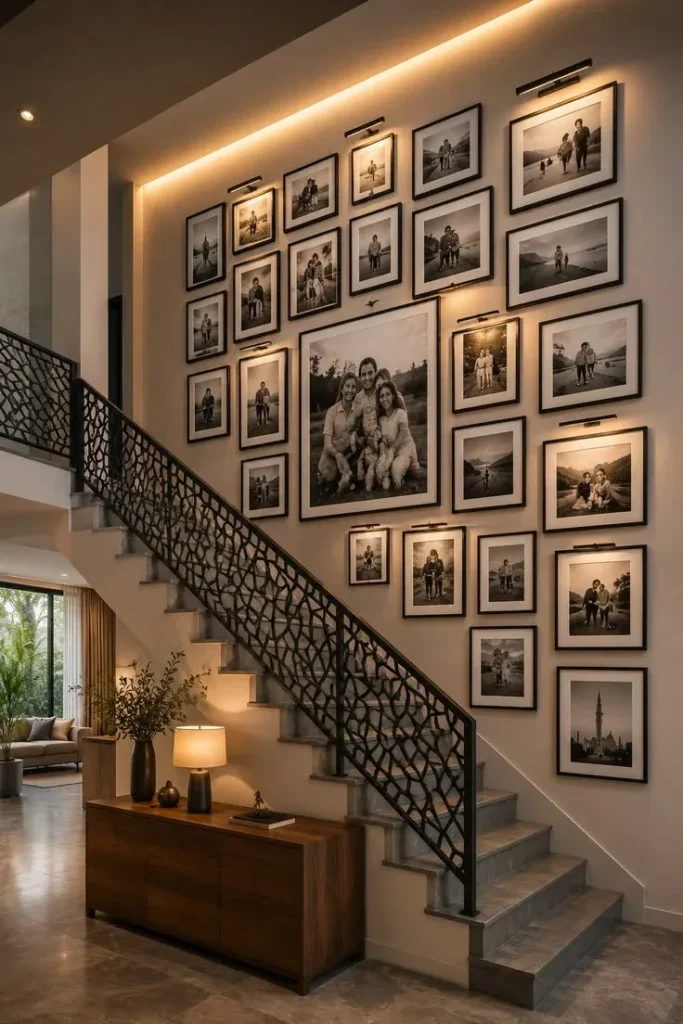
Picture Frame Wall Staircase: Choosing and Mixing Frames
You don’t need matching frames for this to work — in fact, a little variety usually looks better on a staircase gallery wall than a uniform set. Mix vertical and horizontal (portrait and landscape) pieces so the eye has natural variation as it travels up the wall. A good starting mix is a few statement-size frames (11×14 or larger), a handful of mid-size ones (8×10), and a couple of small accent pieces to fill gaps.
If you’re going for a more collected, lived-in look, don’t be afraid to combine photography with art prints, typography, or even small mirrors. A staircase gallery wall built entirely from same-size, same-color frames can actually look flatter and less interesting than one with some texture and contrast in it.
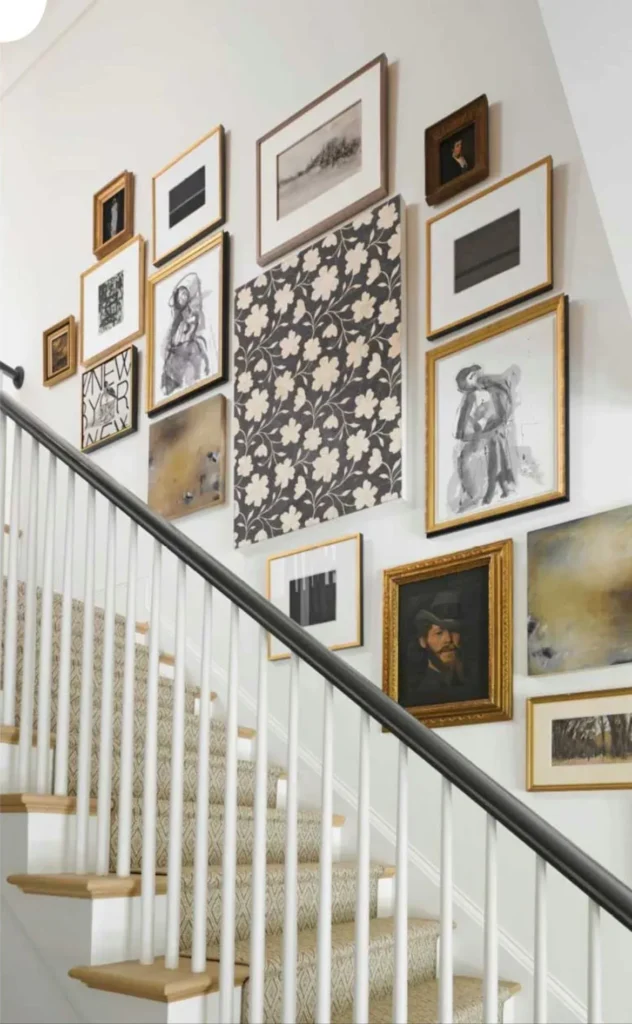
Staircase Art Display Without a Single Test-Hole
The paper template trick solves the “what if it doesn’t work” fear completely. Trace or print the exact outline of each frame on paper, tape the paper cutouts to the wall in your planned layout, and adjust everything until it feels right — this can take an afternoon of shuffling paper around, which is a lot cheaper than shuffling nail holes around. Once you’re happy, mark your nail points directly through the paper, pull it off, and hang.
If you’d rather skip nails altogether, there are also adhesive and magnet-mount picture options built specifically for gallery walls, which are worth it if you’re renting or just don’t want commitment issues with your layout later.
Test It Digitally First
Another popular approach: photograph your blank wall, upload it into a free design tool, and digitally place scaled versions of your artwork over the photo. Scale everything against one frame you already know the exact dimensions of, and you can preview your entire staircase gallery wall before you’ve bought a single hook.
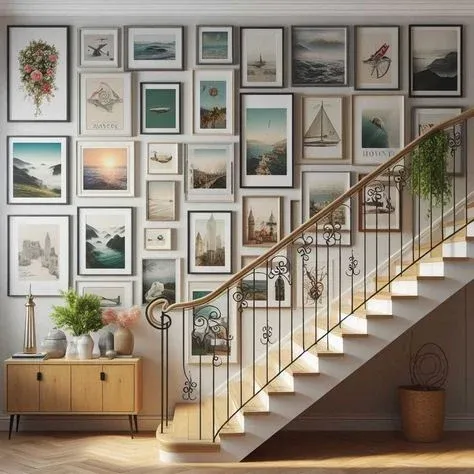
Common Mistakes on a Staircase Gallery Wall
A few patterns show up again and again in people’s first attempts:
- Ignoring the handrail line entirely — frames end up fighting the angle instead of following it.
- Uneven spacing that gets worse near the top — measure as you go, don’t just estimate.
- Going too small on a tall stairwell — a two-story stairwell swallows tiny frames; scale up.
- Overcrowding one section and leaving the rest bare — step back and check the whole wall, not just the section in front of you.
None of these are hard to avoid once you know to watch for them, which is really the whole point of planning before you hang anything.
FAQs: Staircase Gallery Wall
How high should the first frame be on a staircase gallery wall?
Start your lowest frame roughly 6-8 inches above the handrail line at that point on the stairs, adjusting slightly so it doesn’t feel like it’s sitting on top of the rail itself.
Do I need matching frames for a staircase gallery wall?
No. A mix of sizes, colors, and even frame styles often looks better than a uniform set, as long as you keep consistent spacing and follow the stair angle throughout.
What if my stairwell is really narrow?
Narrow walls work fine with smaller frames and tighter spacing (closer to 2 inches). A single vertical column of smaller pieces can look just as intentional as a wide spread.
How do I keep frames from tilting on an angled wall?
Use two hanging points per frame instead of one central nail, or add museum putty behind the bottom corners to stop shifting over time.
Can I do a staircase gallery wall without nails?
Yes — adhesive strips and magnet-mount picture tiles are designed exactly for this, and they’re a good option if you’re renting or want to rearrange things often.
Conclusion
A staircase gallery wall doesn’t have to be perfect to work — it has to be intentional. Once you’ve measured your stair angle, picked a layout style that fits your space, and stuck to consistent spacing, the rest is really just enjoyable decorating. Don’t stress over getting every gap exactly identical; a little imperfection is part of what makes a stairway feel personal instead of showroom-staged. If you’ve been putting this project off because the angled wall felt too complicated, this weekend is a good time to grab some painter’s tape, mark your centerline, and start laying out paper templates before you commit to a single hole.